Node Pool
Overview
UK8S introduces the concept of node pools, which enables more convenient grouping and management of nodes. This document describes the functions such as node pool creation and management, helping you better utilize node pools to manage and optimize your Kubernetes cluster.
Default Node Pool
When creating a cluster, all Master nodes join the default node pool (named DefaultNodeGroup). Node nodes will enter the corresponding node pool based on the Node configuration specified during cluster creation (each line of Node configuration corresponds to one node pool. For example, if a line of Node configuration is “O model with 8 cores and 16GB memory”, all Nodes created under this configuration will enter the node pool named O8C16GNodeGroup).
Node pool names support duplication and can be modified after creation. The default node pool is unique and cannot be modified, deleted, or have nodes added later.
The following types of nodes will not join any node pool:
- All hosts added without selecting a node pool, including adding new nodes and existing hosts.
- Non-standard cloud hosts, such as physical cloud hosts and UPHost
Create a Node Pool
To create a node pool, follow these steps:
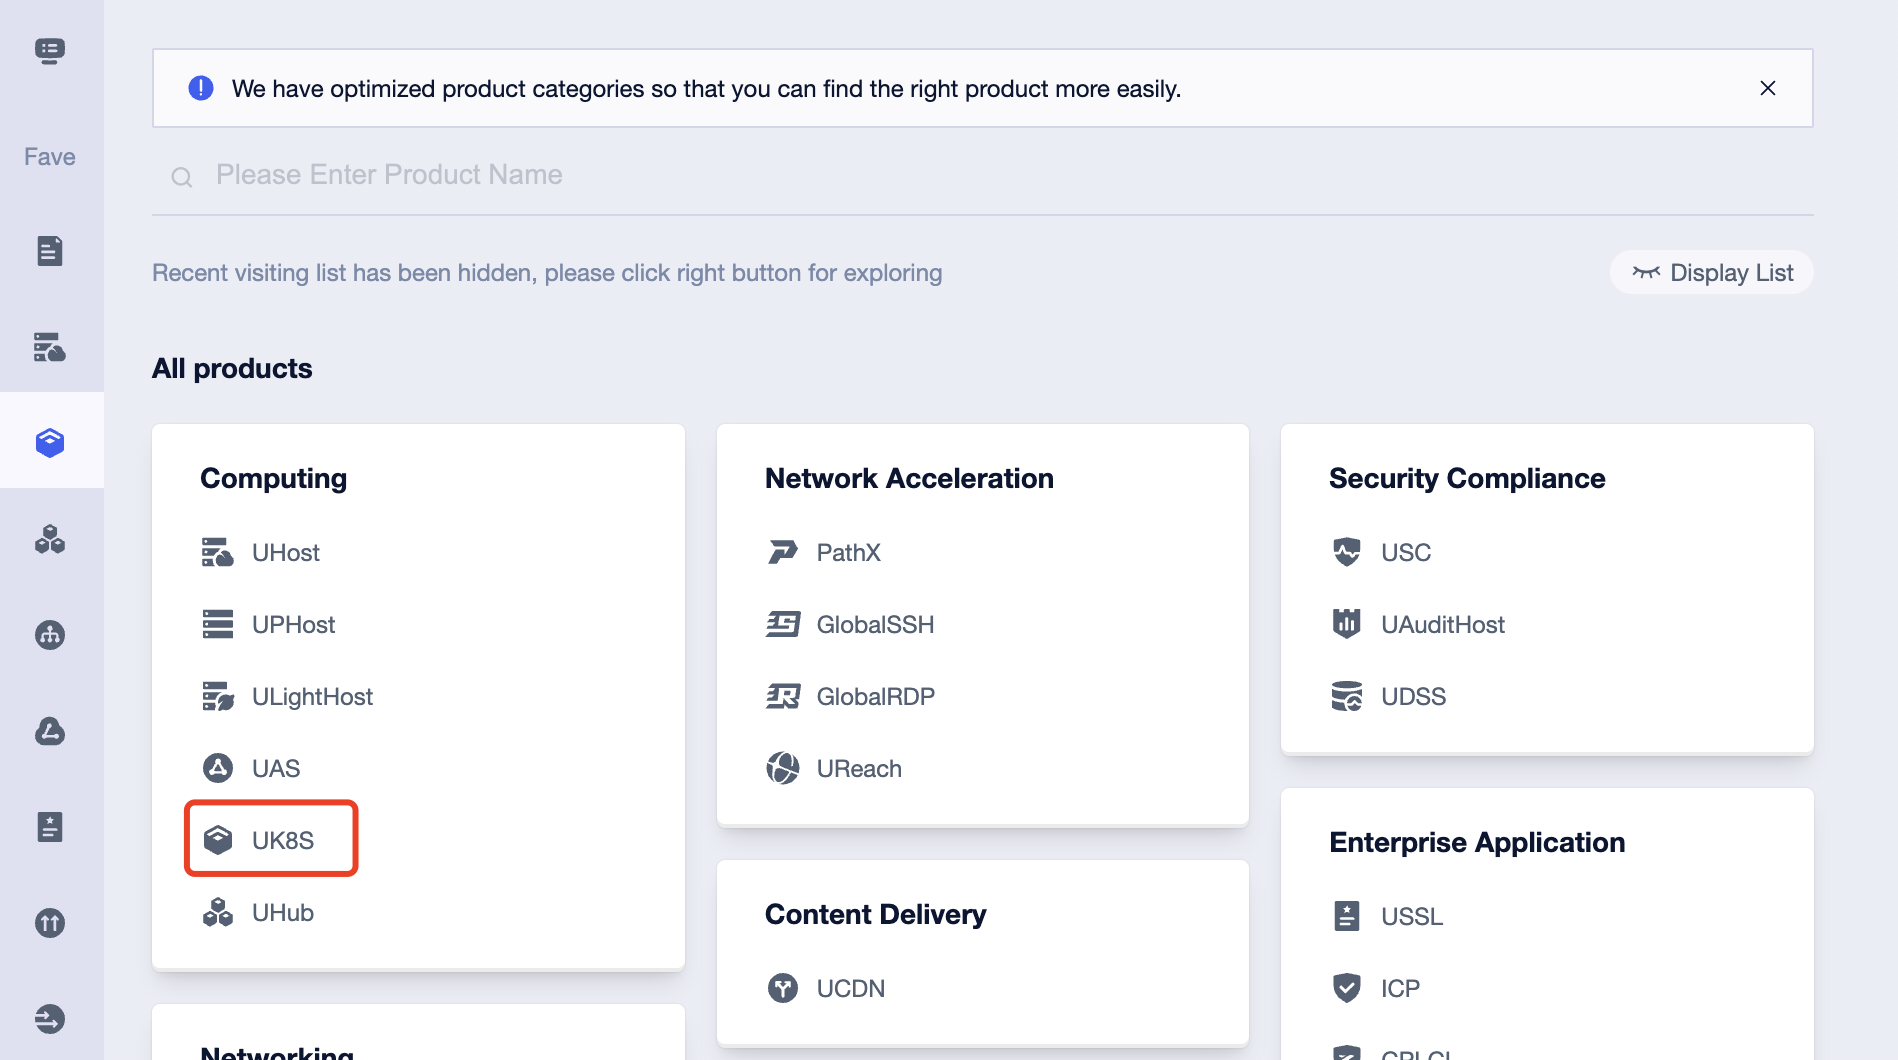
- Log in to the Genesis Cloud console and navigate to the UK8S service.

- On the Kubernetes service page, select the cluster for which you want to create a node pool.

- On the cluster details page, select the “Node Pool” tab.

-
Click the “Add Node Pool” button.
-
On the page, fill in the name of the node pool, node host information, specifications and other information.
-
Click the “Create” button and wait for the node pool to be created.
Manage Node Pools
Once a node pool is created, you can perform the following operations to manage it:
- Add nodes to the node pool: You can manually expand the pool to meet business requirements based on the load of your application.
- Adding nodes through a node pool can be completed in a few steps, without the need to repeatedly select common host specifications

- Adding nodes through a node pool can be completed in a few steps, without the need to repeatedly select common host specifications
- Node Pool Details: By clicking on the node pool name or “Details” on the right, you can view the detailed configuration information of the node pool and the current node information included in the node pool.
- Update Node Pool Configuration: If you need to change the configuration of a node pool, you can select “Update Configuration”. It should be noted that the region and VPC do not support modification. Modifying the node pool configuration will not make any adjustments to the existing nodes under the current node pool, and only takes effect for subsequent new nodes added from the node pool.
- Delete node pool: If a node pool is no longer needed, you can choose to delete it; please make sure that all nodes under the node pool have been removed before deleting, if nodes still exist, it cannot be deleted.
-
If there are nodes in the target node pool, the remove operation is prohibited

-
If there are no nodes in the target node pool, the remove operation is available.

-